Global field walkthrough
Part 1 of 4 · Learning path · Sample counts
Start: the prepared global project. Finish: save and review NY-013 with Quick Capture; 36 → 37 sites, 48 → 49 project features.
Follow one inspection from location confirmation to a saved record and a usable export. The Global Field Operations project connects three cities through the same layers, form and condition categories. These images show the actual application with the Mapplex demo workspace.
Training data
The locations are real; the sites, routes, zones and inspection findings are fictional. They do not represent surveyed assets, official boundaries or an actual field visit. Phone images and tablet-mode images were captured in the browser; they are not physical-device acceptance tests.
Reading the screenshots
Original capture screens and downloads show this part's stage. Refreshed views may show the completed demo: 39 sites / 51 features. See why the counts differ. Select any image to view it at full size.
1. Open the prepared project
Open Projects and select Global Field Operations. Check that the card is marked Active. This example uses a hosted project so that saved work can be delivered to the Geova backend.
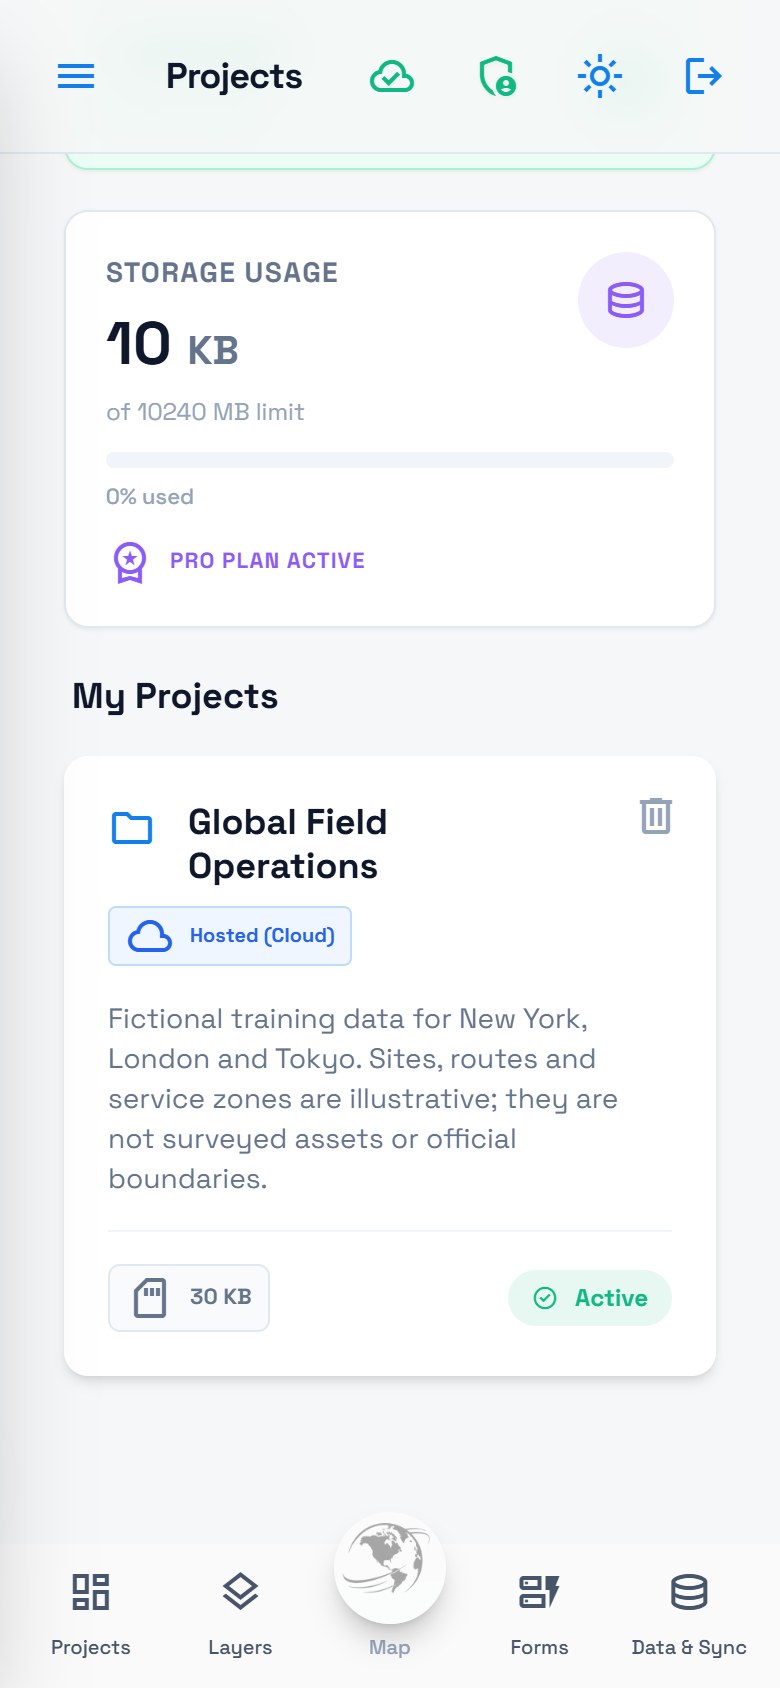
The prepared project begins with 36 inspection sites, 6 maintenance routes and 6 service zones. Each city has twelve sites, two routes and two zones. The separate Service zones reference source supplies the form's location-based lookup.
Download the sample data and form definition. The archive is a reference dataset, not a one-click project installer. When preparing your own copy, follow Layers, Forms and Data & Sync. Importing a polygon feature layer alone does not configure the separate reference-data lookup.
2. Explore the same workflow across three cities
Open Map and choose Inspection sites in the layer selector. The sites use Good, Fair and Poor condition categories. Color and icons help distinguish them; open a record to read its actual condition. The surrounding routes and zones provide context for the inspection.
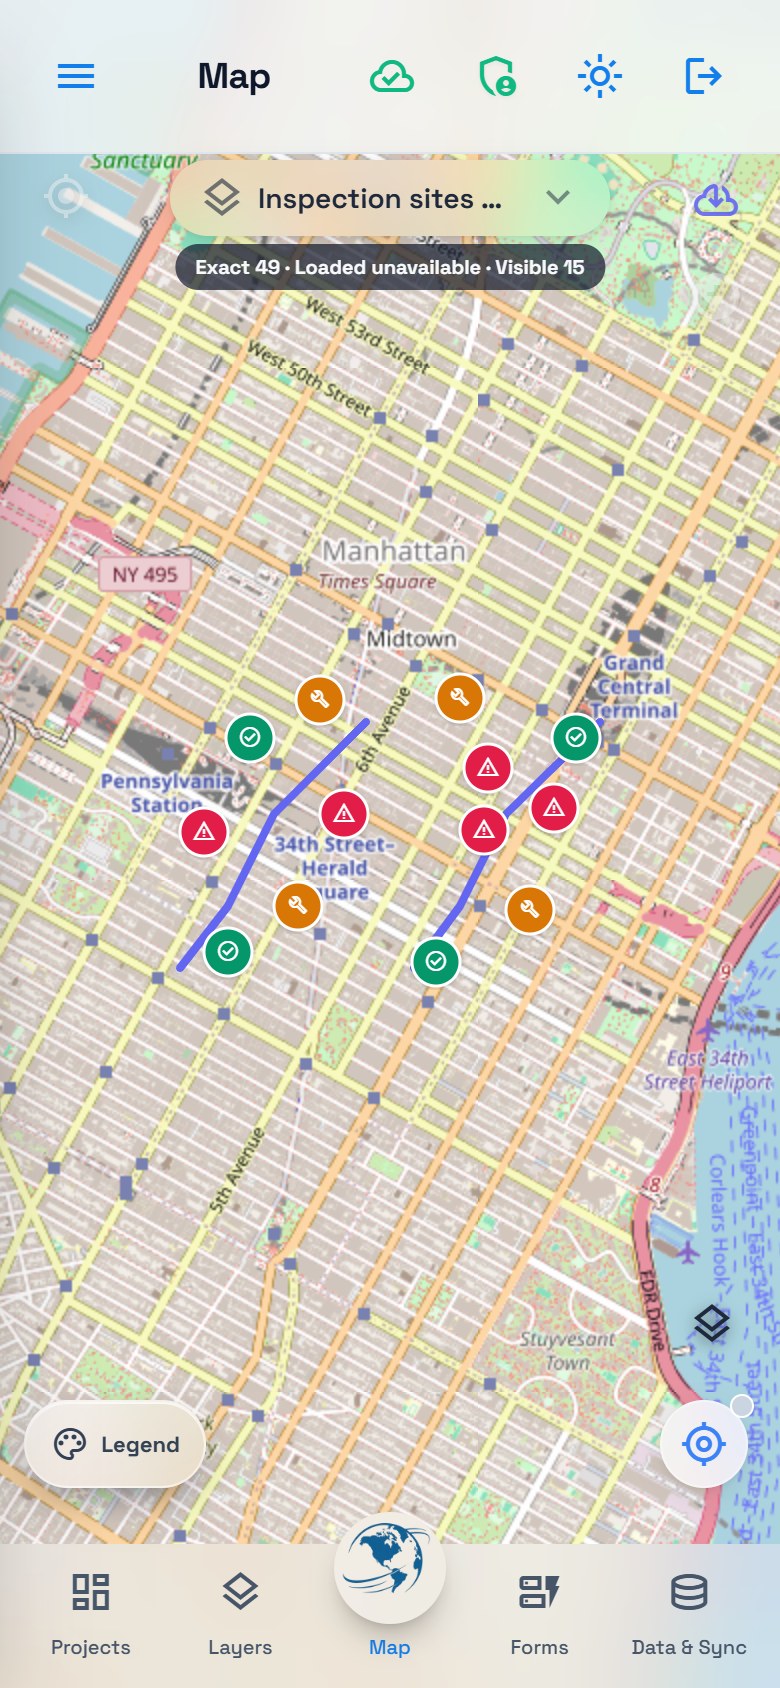
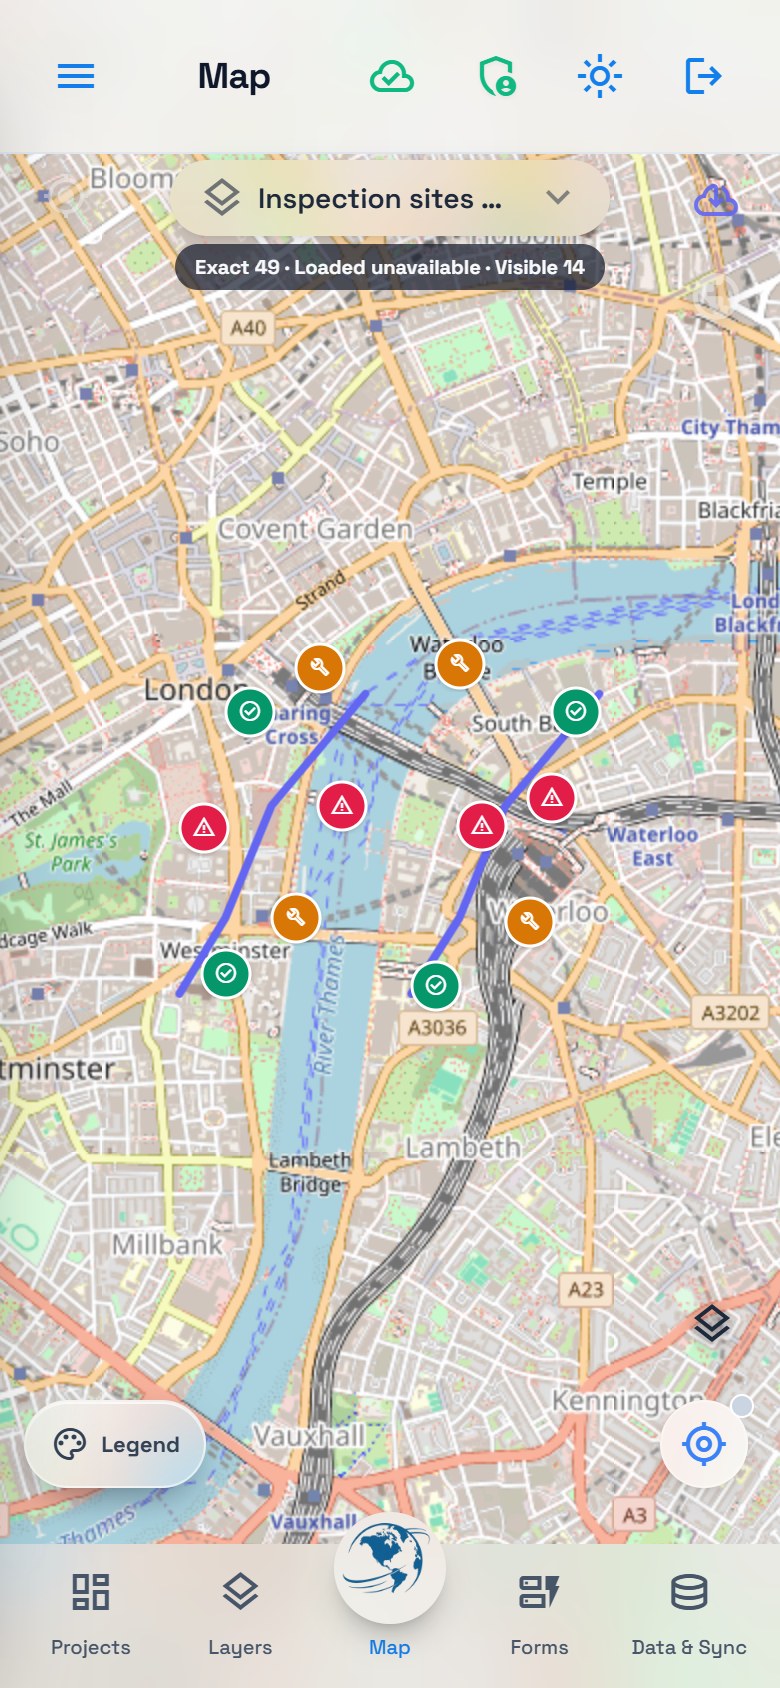
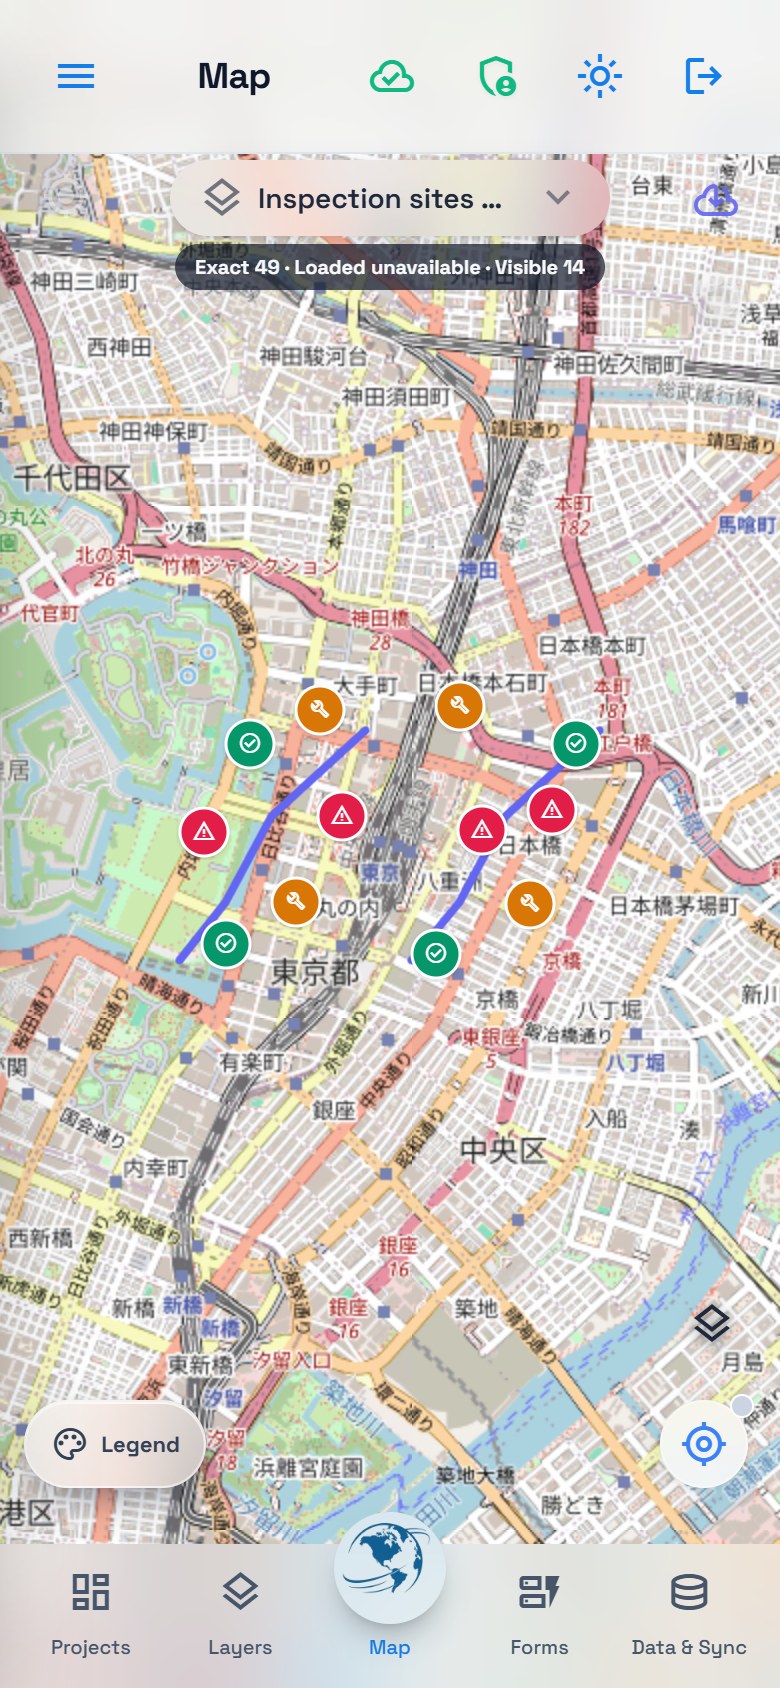
These phone map screenshots were taken after the New York exercise, so the project total is 49. The current map status also displays Loaded unavailable. That indicator is not evidence of synchronization; review saved records and delivery status separately.
3. Confirm a location and complete Quick Capture
In Settings → Field tools, enable Quick Capture Mode. Keep Inspection sites, a Point layer, selected. For this repeatable example, use the prepared coordinate 40.7509, -73.9815: latitude first, longitude second.
Copy 40.7509, -73.9815 first. With Use radial drawing controls enabled, long-press empty map space on a phone (or right-click on desktop), then choose Paste Loc. It reads the clipboard; if clipboard access is unavailable, enter the coordinate in the Input Coordinates prompt. Review the temporary pin, then choose Confirm Location. This is a known demonstration coordinate, not a GPS measurement from the person operating the device. See Pasting a location for the clipboard and manual-input behavior.
Confirming the pin opens Quick Capture; the record is saved only when you choose Save Capture. If the sheet says Enter Data, Quick Capture is off or unavailable: check the Field tools setting before following this example. Both workflows use the selected layer's form.
Complete the form as follows:
| Field | Example | Why it matters |
|---|---|---|
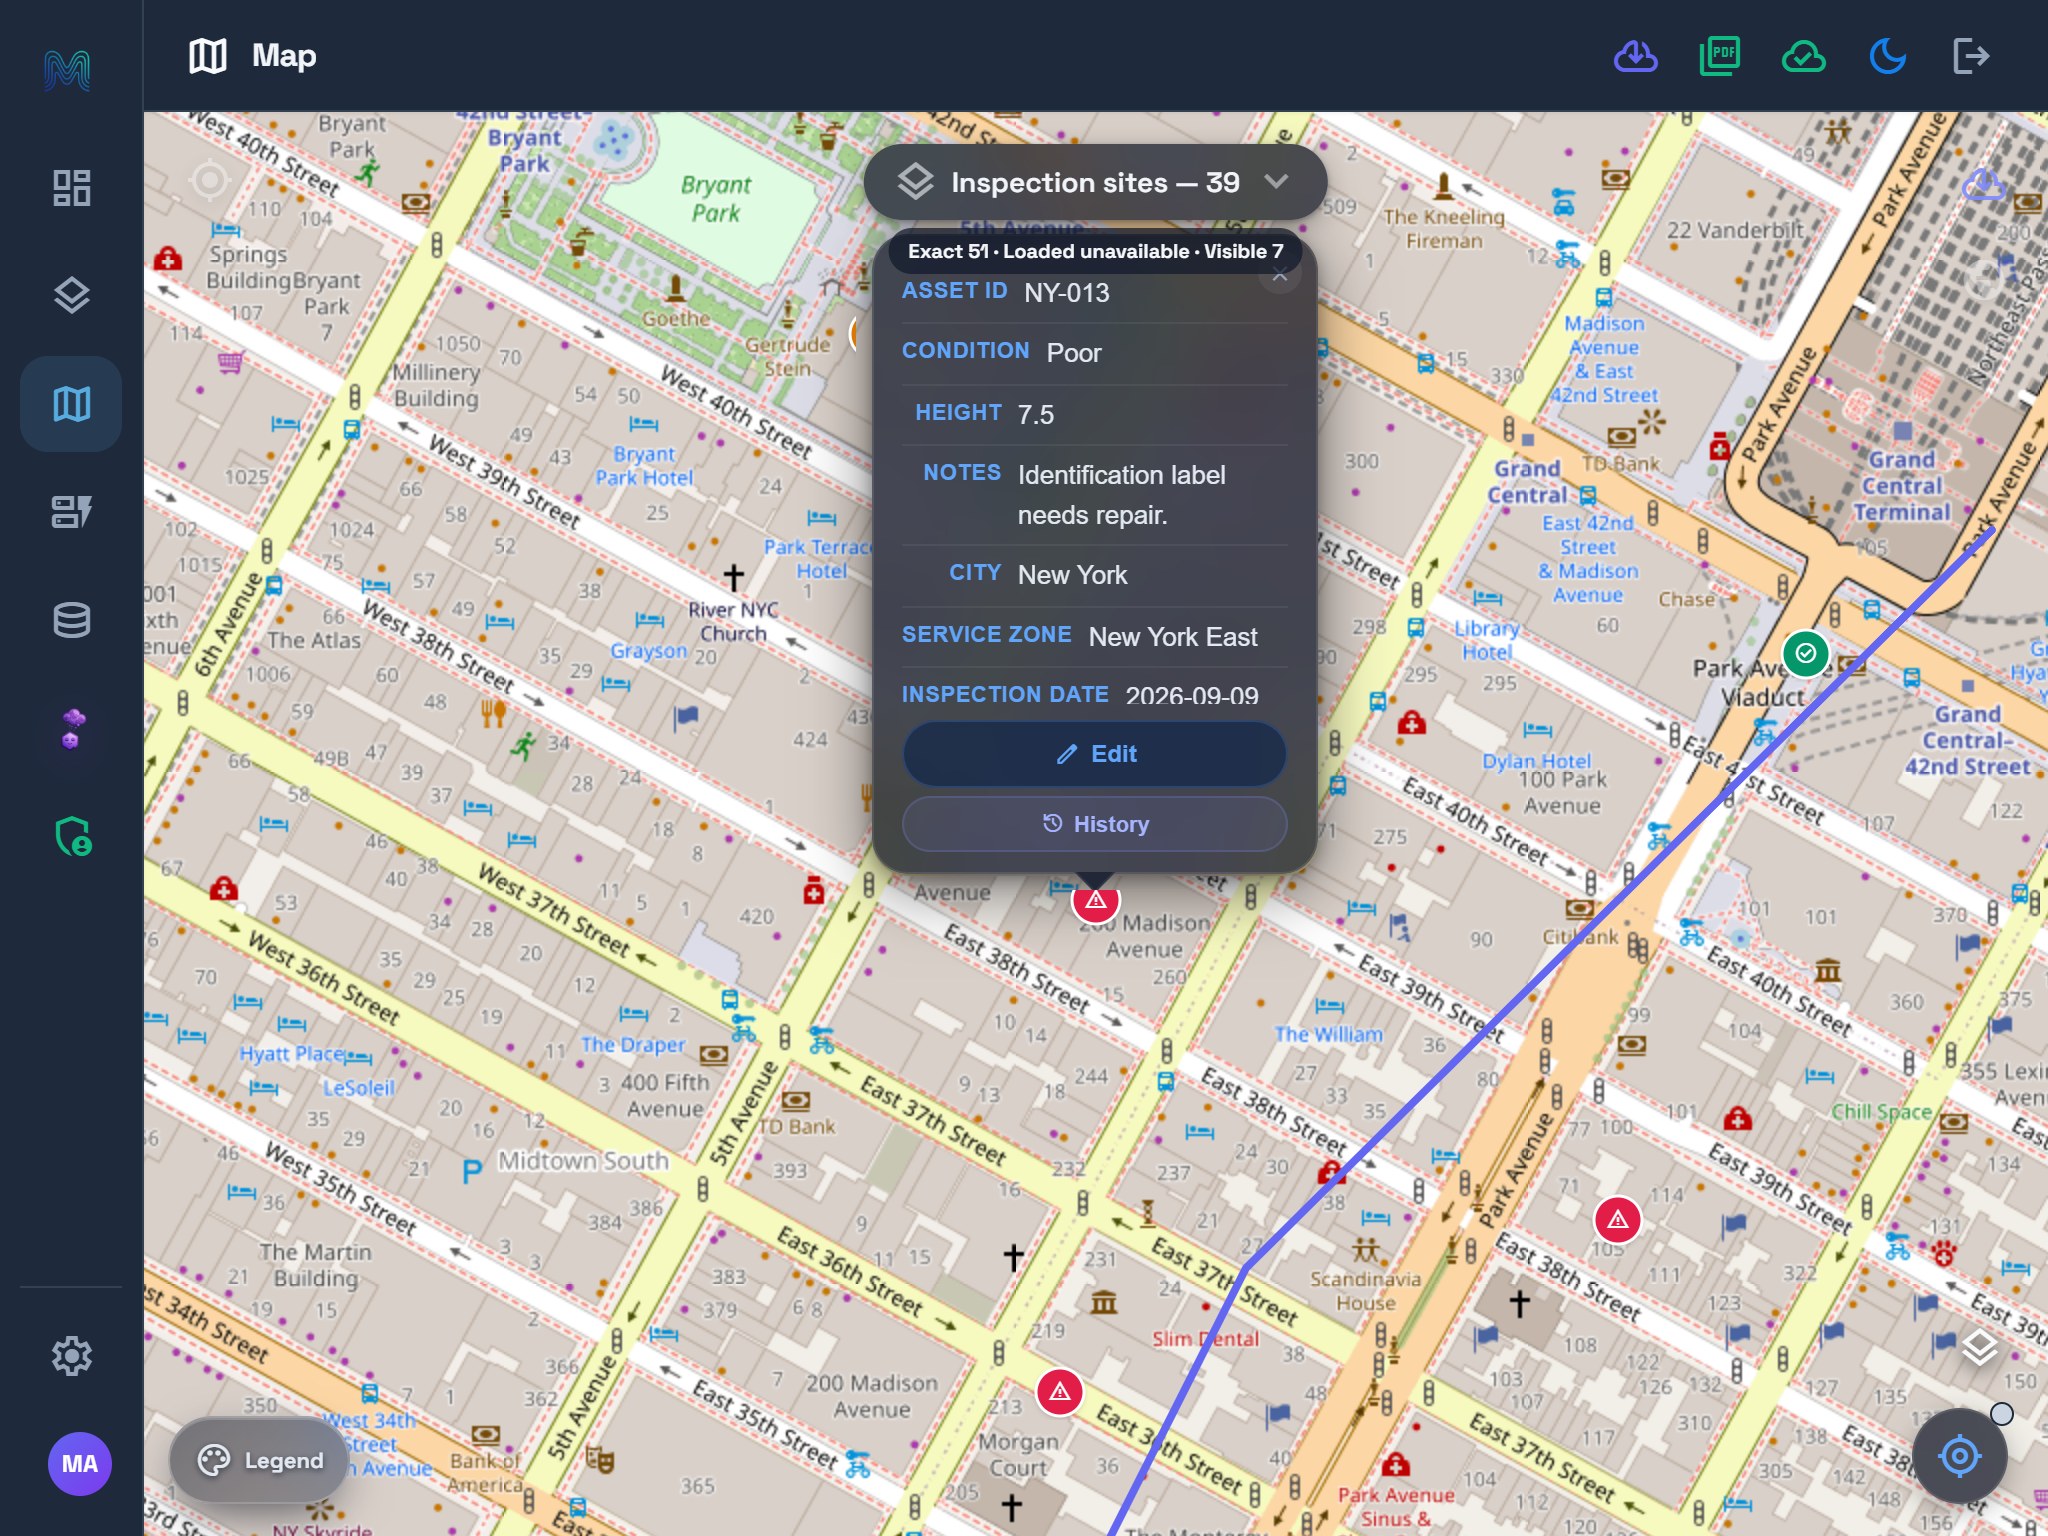
| Asset ID | NY-013 | Identifies this inspection example. Use another ID if repeating it in the prepared demo. |
| Condition | Poor | Makes Notes required through the form's rule. |
| Height | 7.5 | A numeric value in metres for this sample form. |
| Notes | Identification label needs repair. | Records the reason for the poor-condition assessment. |
| City | New York | Uses the same controlled city choices across the project. |
| Service zone | New York East | Filled from the reference polygon containing the location; review the result. |
| Inspection date | 2026-09-09 | Fixed date for this example; use the actual inspection date in field work. |
| Photo | Leave empty | Optional in this training form. |
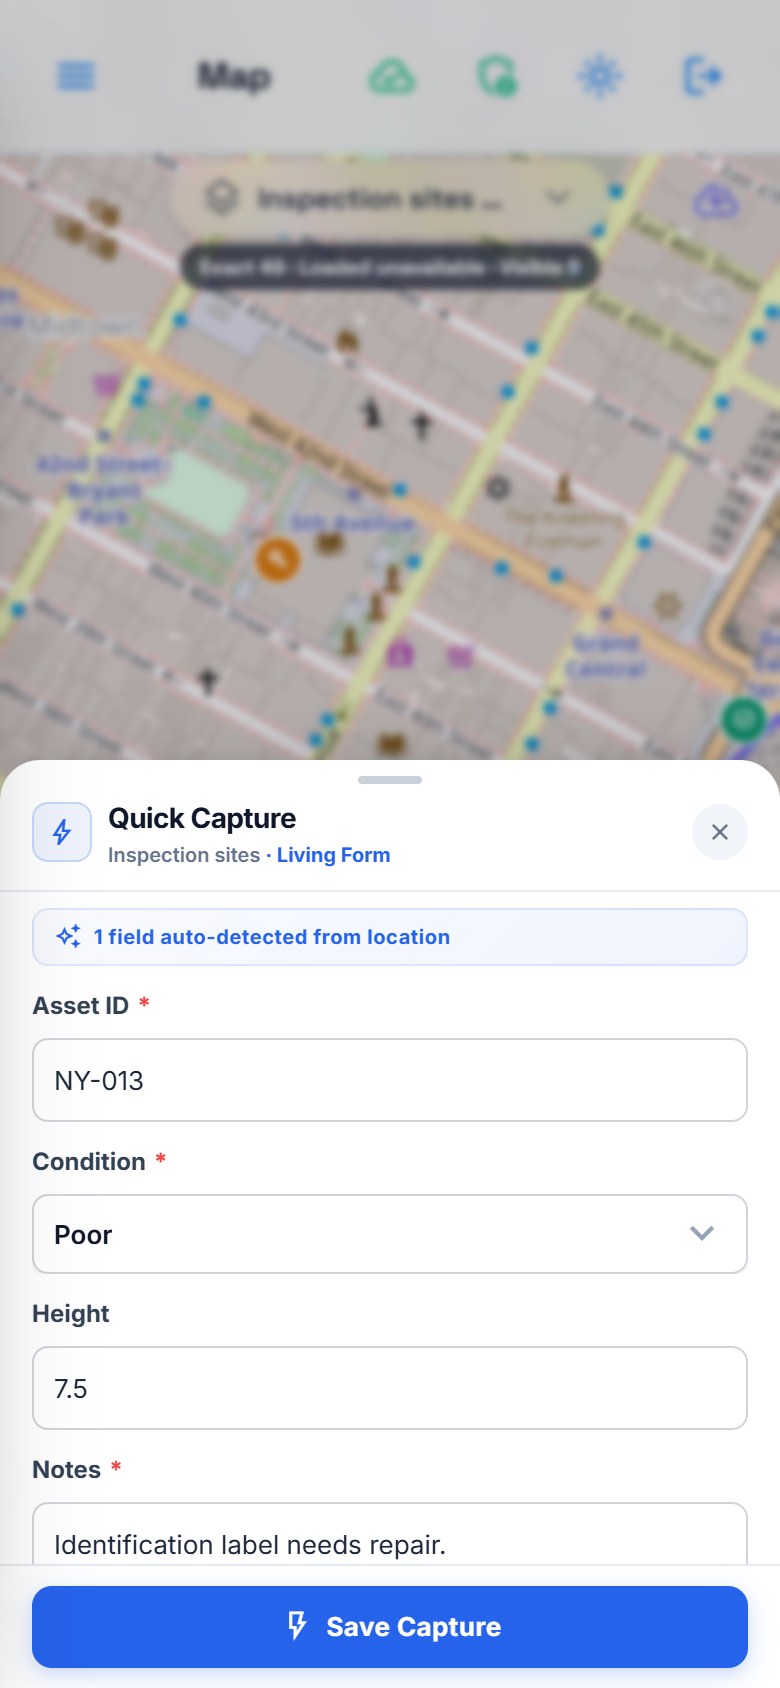
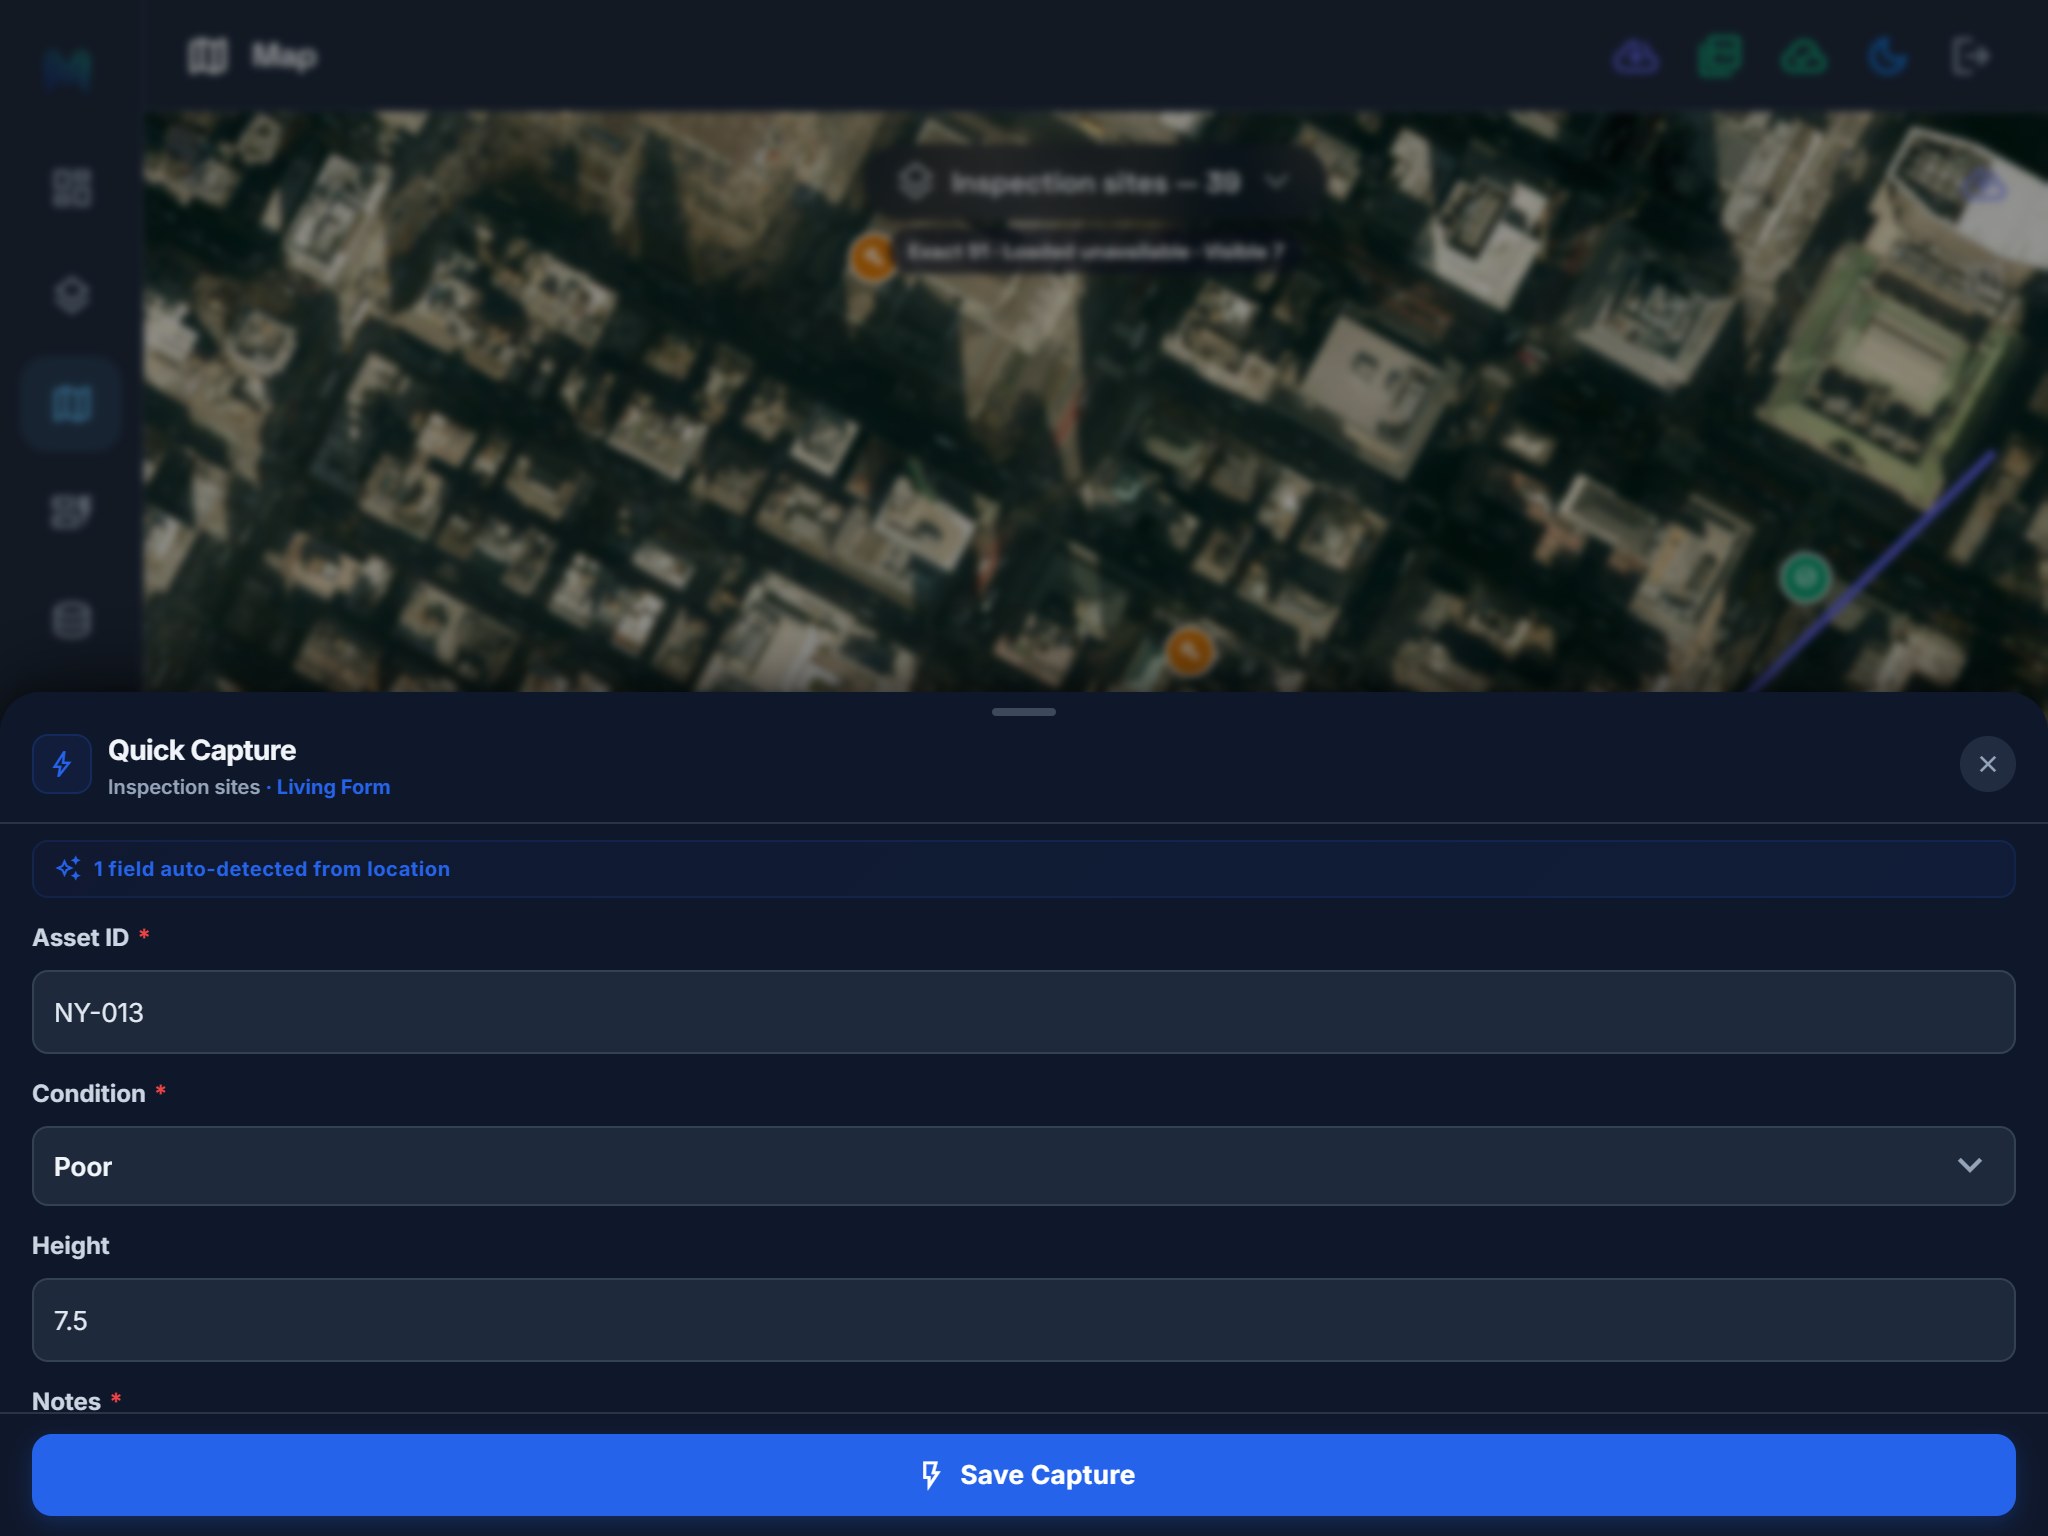
This example uses typed entry. For supported deployments, voice-assisted Quick Capture explains the additional access, consent, connection and device requirements.
4. Save and inspect the result
Choose Save Capture. After the save confirmation, reopen NY-013 and check its condition, height, notes, city and service zone. If overlapping features make selection difficult, inspect the record in Data & Sync as shown below.
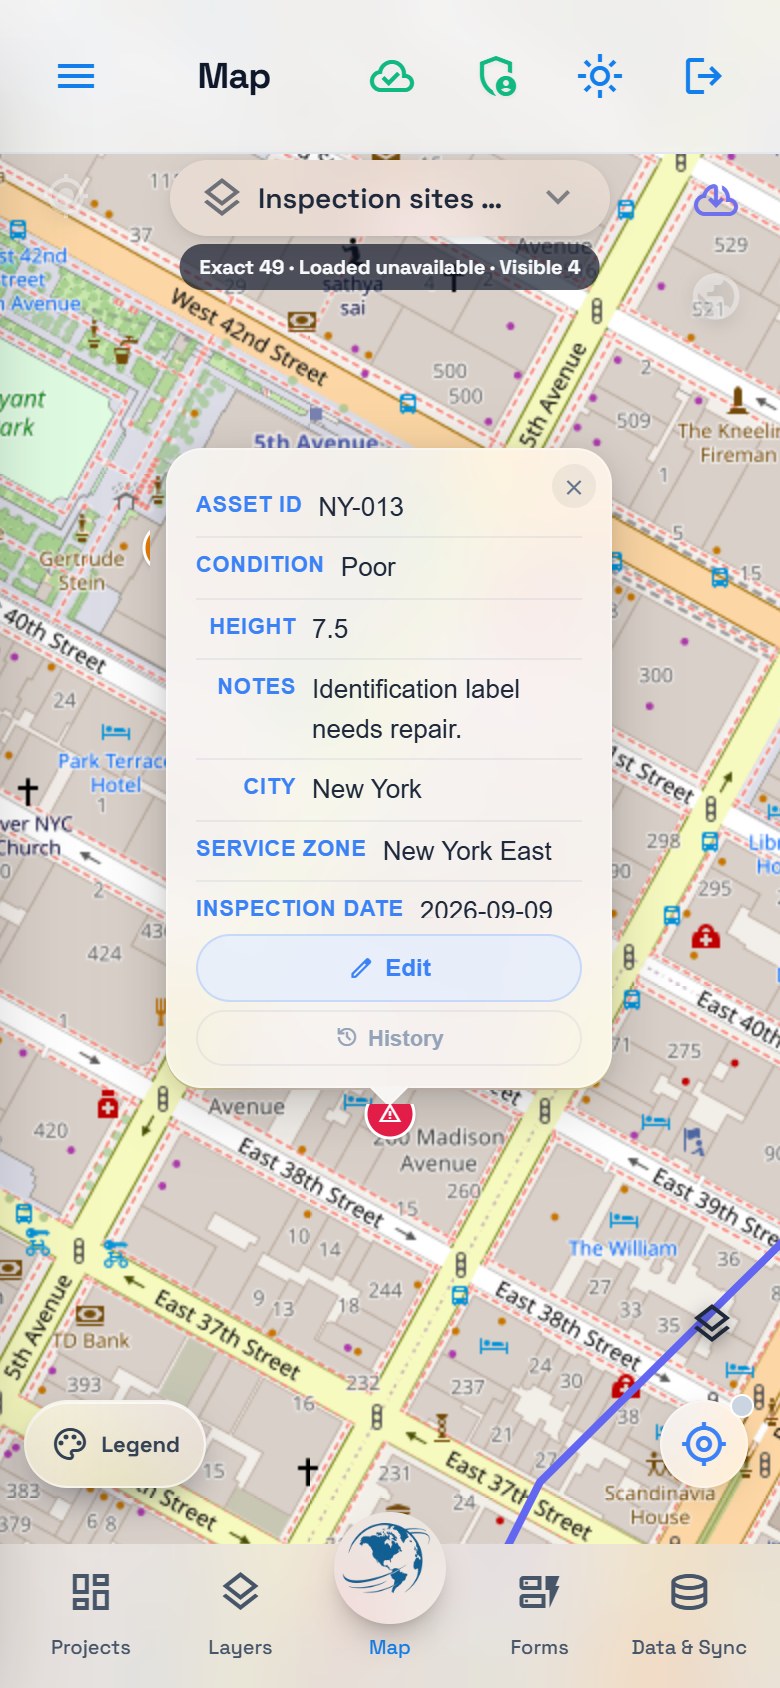
For this demonstration, the saved record was also read back from the Geova backend. It retained the intended coordinate and form values. A local save confirmation alone does not establish that another device has received the record; use Sync & recovery when delivery is uncertain.
5. Review the table and export the inspections
Open Data & Sync. In Export Data, select Inspection sites. At this stage the layer contains 37 records: the original 36 plus NY-013. On the completed demo, it contains 39; use the count shown for your selected layer. Choose JSON to export the selected layer as GeoJSON.
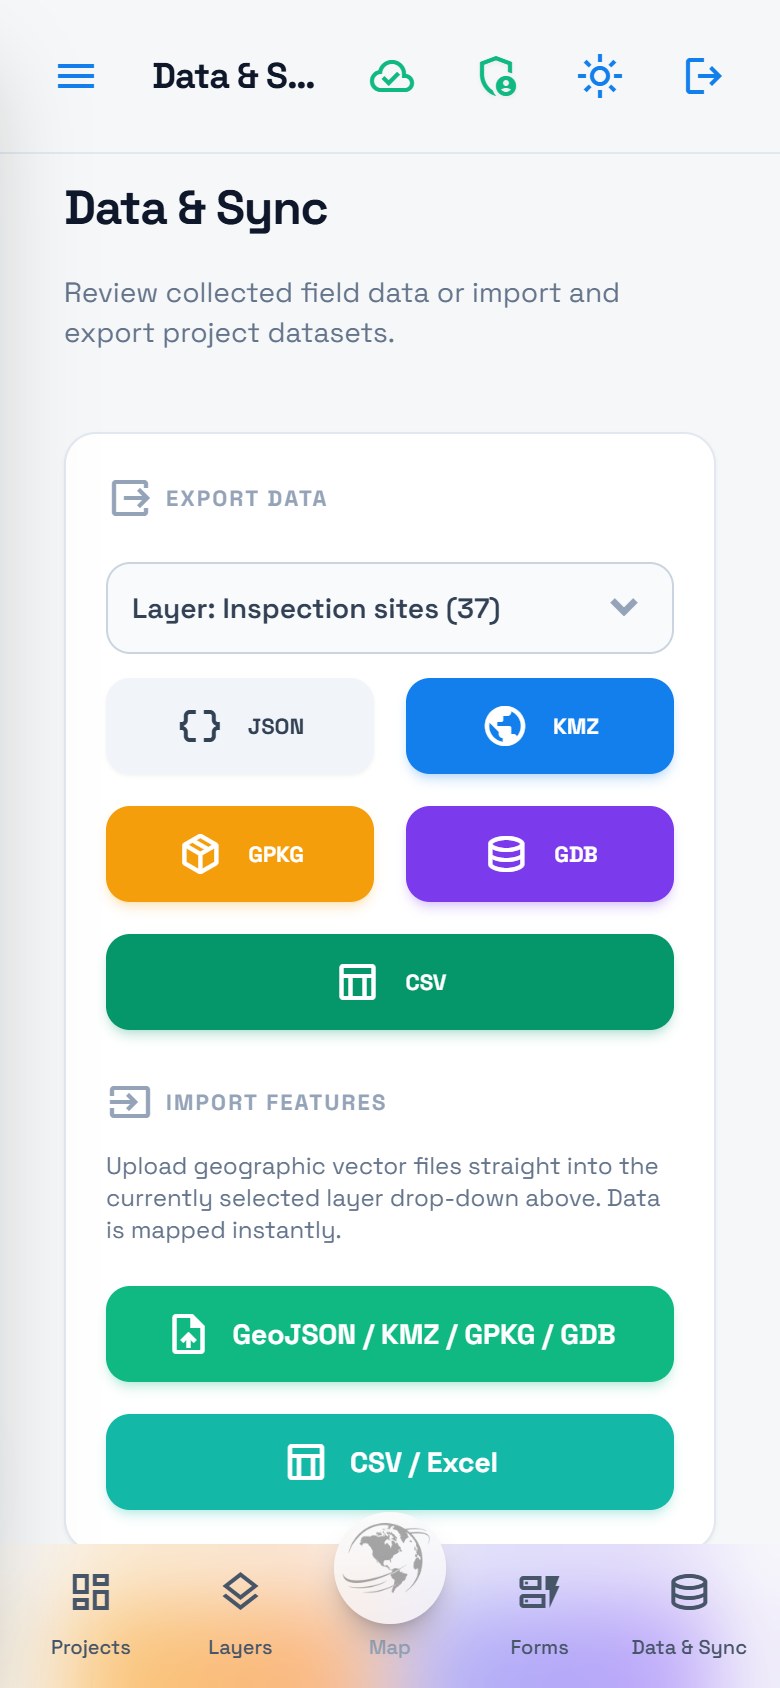
Expand the Inspection sites data card and locate NY-013. On a narrow screen, scroll the table horizontally to inspect additional columns.
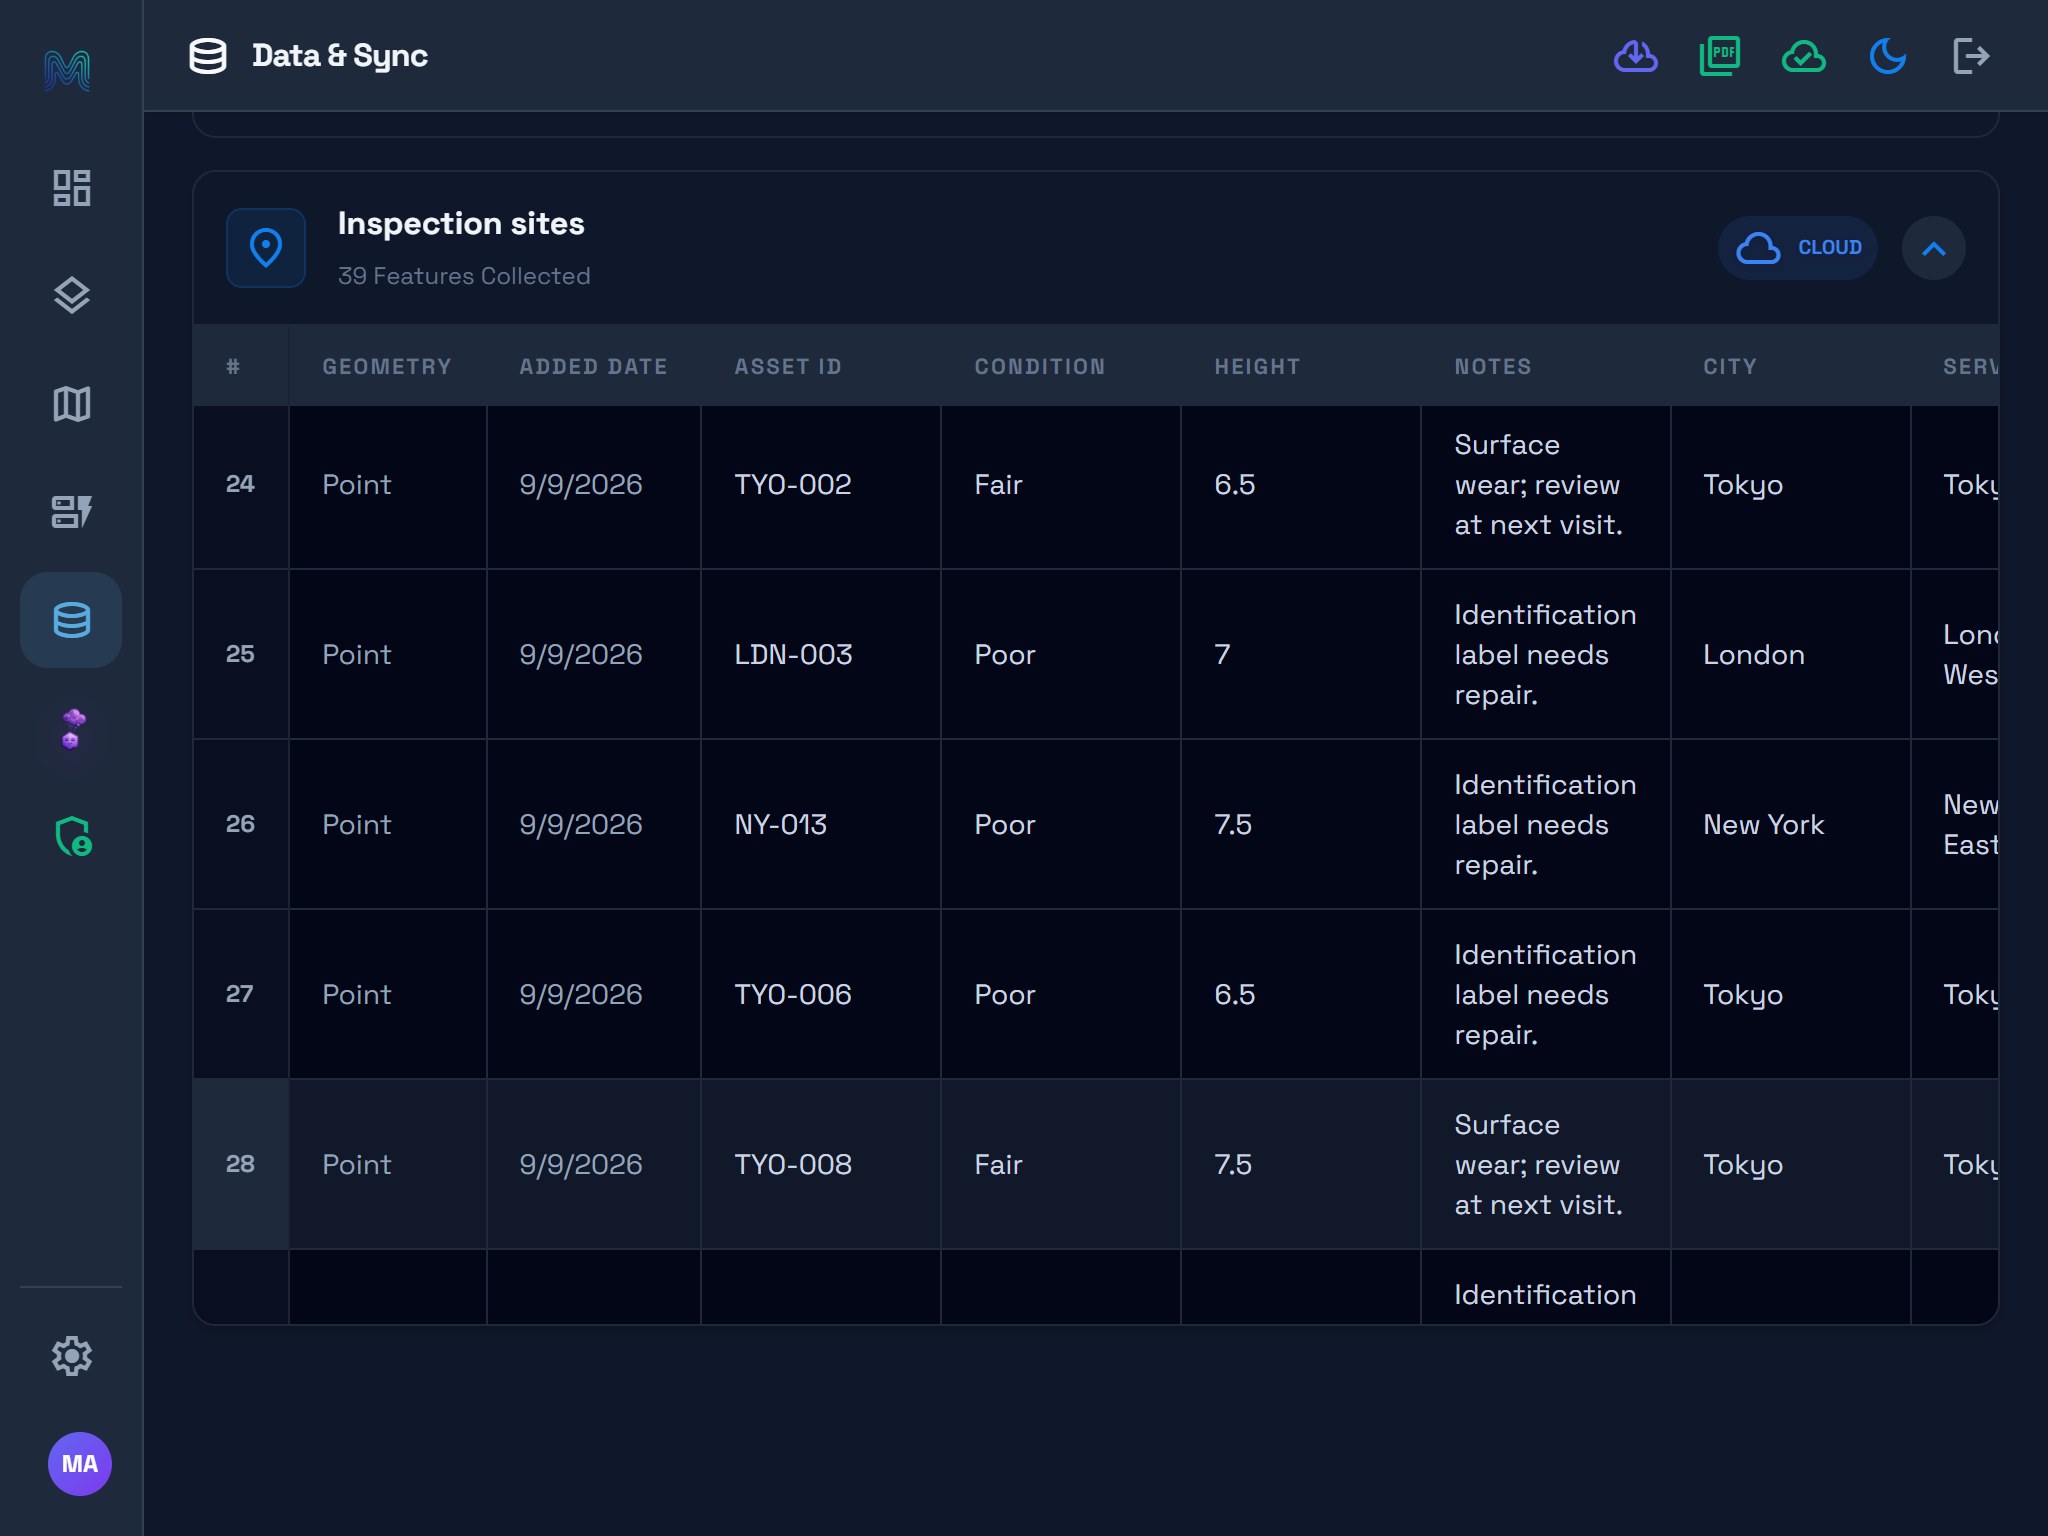
The JSON export was checked: it contains 37 Point features, including NY-013 at the expected location with the reviewed values. Download the completed inspection export to examine the result. The export uses the form's display labels, such as Asset ID and Service zone, as property names.
6. Review the same inspection on a tablet
The tablet interface provides a navigation rail and more room for map context while the record is open. The selected layer and saved values remain the same; switching device layouts does not create a separate project or inspection.
For field and rule details, see Forms & Smart Logic.
Before you continue
NY-013 is saved and reviewed. At this stage, the project has 37 sites / 49 features, and the original site export contains 37 points.
Previous: Learning path & sample counts · Learning path & counts · Next: Part 2 · Night-mode field setup