Getting Started & Onboarding
Purpose: Open the right application and enter the intended project environment.
Before you start: An approved installation or application address, and workspace credentials if required.
Expected result: You can open Mapplex and identify whether you are working locally or in a signed-in workspace.
This module explains how to install Mapplex, sign in, use guest mode, and understand workspaces.
1. Installing or Opening Mapplex
Mapplex has two supported delivery surfaces:
- Android application: Install the company-distributed APK or the Play Store build when it becomes available. This is the supported field installation for dependable cold-start access without internet.
- Web application: Open the HTTPS Mapplex URL in a modern browser. A browser may let you add a home-screen shortcut, but the current web build is not an installable offline PWA and does not guarantee a cold start while disconnected.
Android application
- Install the approved Mapplex APK supplied by your organization, or use the Play Store release when it is available for your deployment.
- Launch Mapplex from the device app drawer.
- Open each required project and download required offline map tiles before leaving connectivity.
- Run one offline readiness check before field deployment.
Web application and optional shortcut
- Open the Mapplex HTTPS URL in a supported browser.
- Sign in and allow the initial application resources to load.
- If desired, use the browser's Add to Home Screen command to create a shortcut.
- Do not treat that shortcut as an offline installation. If dependable disconnected startup is required, use the Android application.
Offline data note: Local projects and prepared map tiles remain usable after the application is already loaded. Cloud synchronization, team functions, and Geova AI require connectivity. Always test the exact device and project before fieldwork.
2. Authentication
Mapplex offers three access paths. When you first launch the app, the sign-in screen is displayed.
Choose the interface language
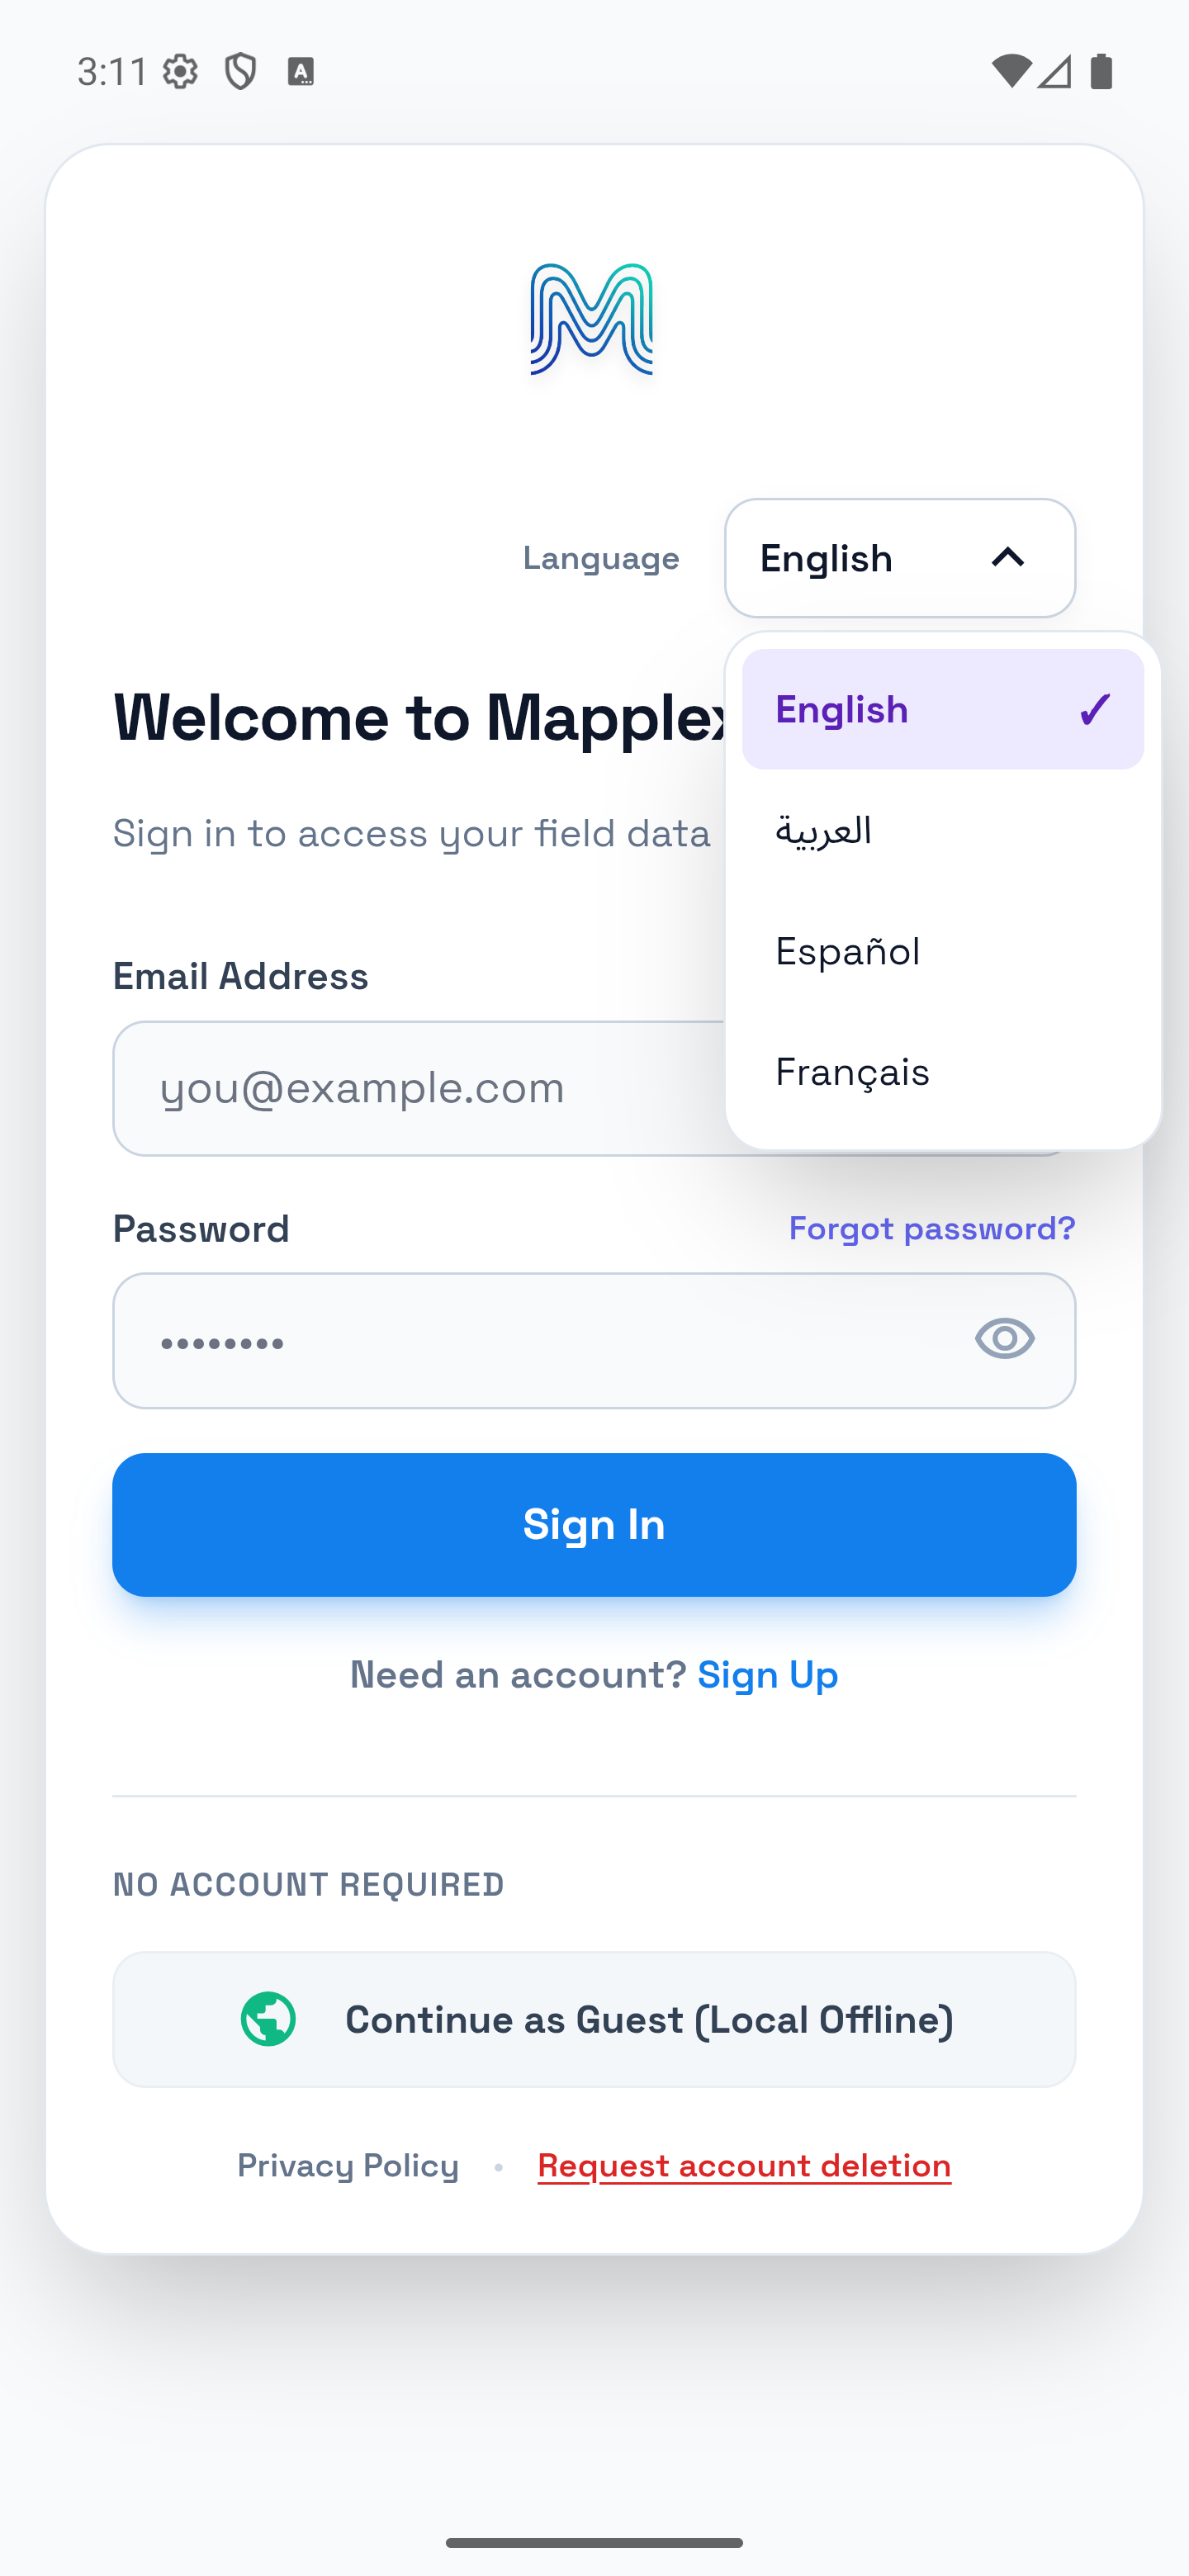
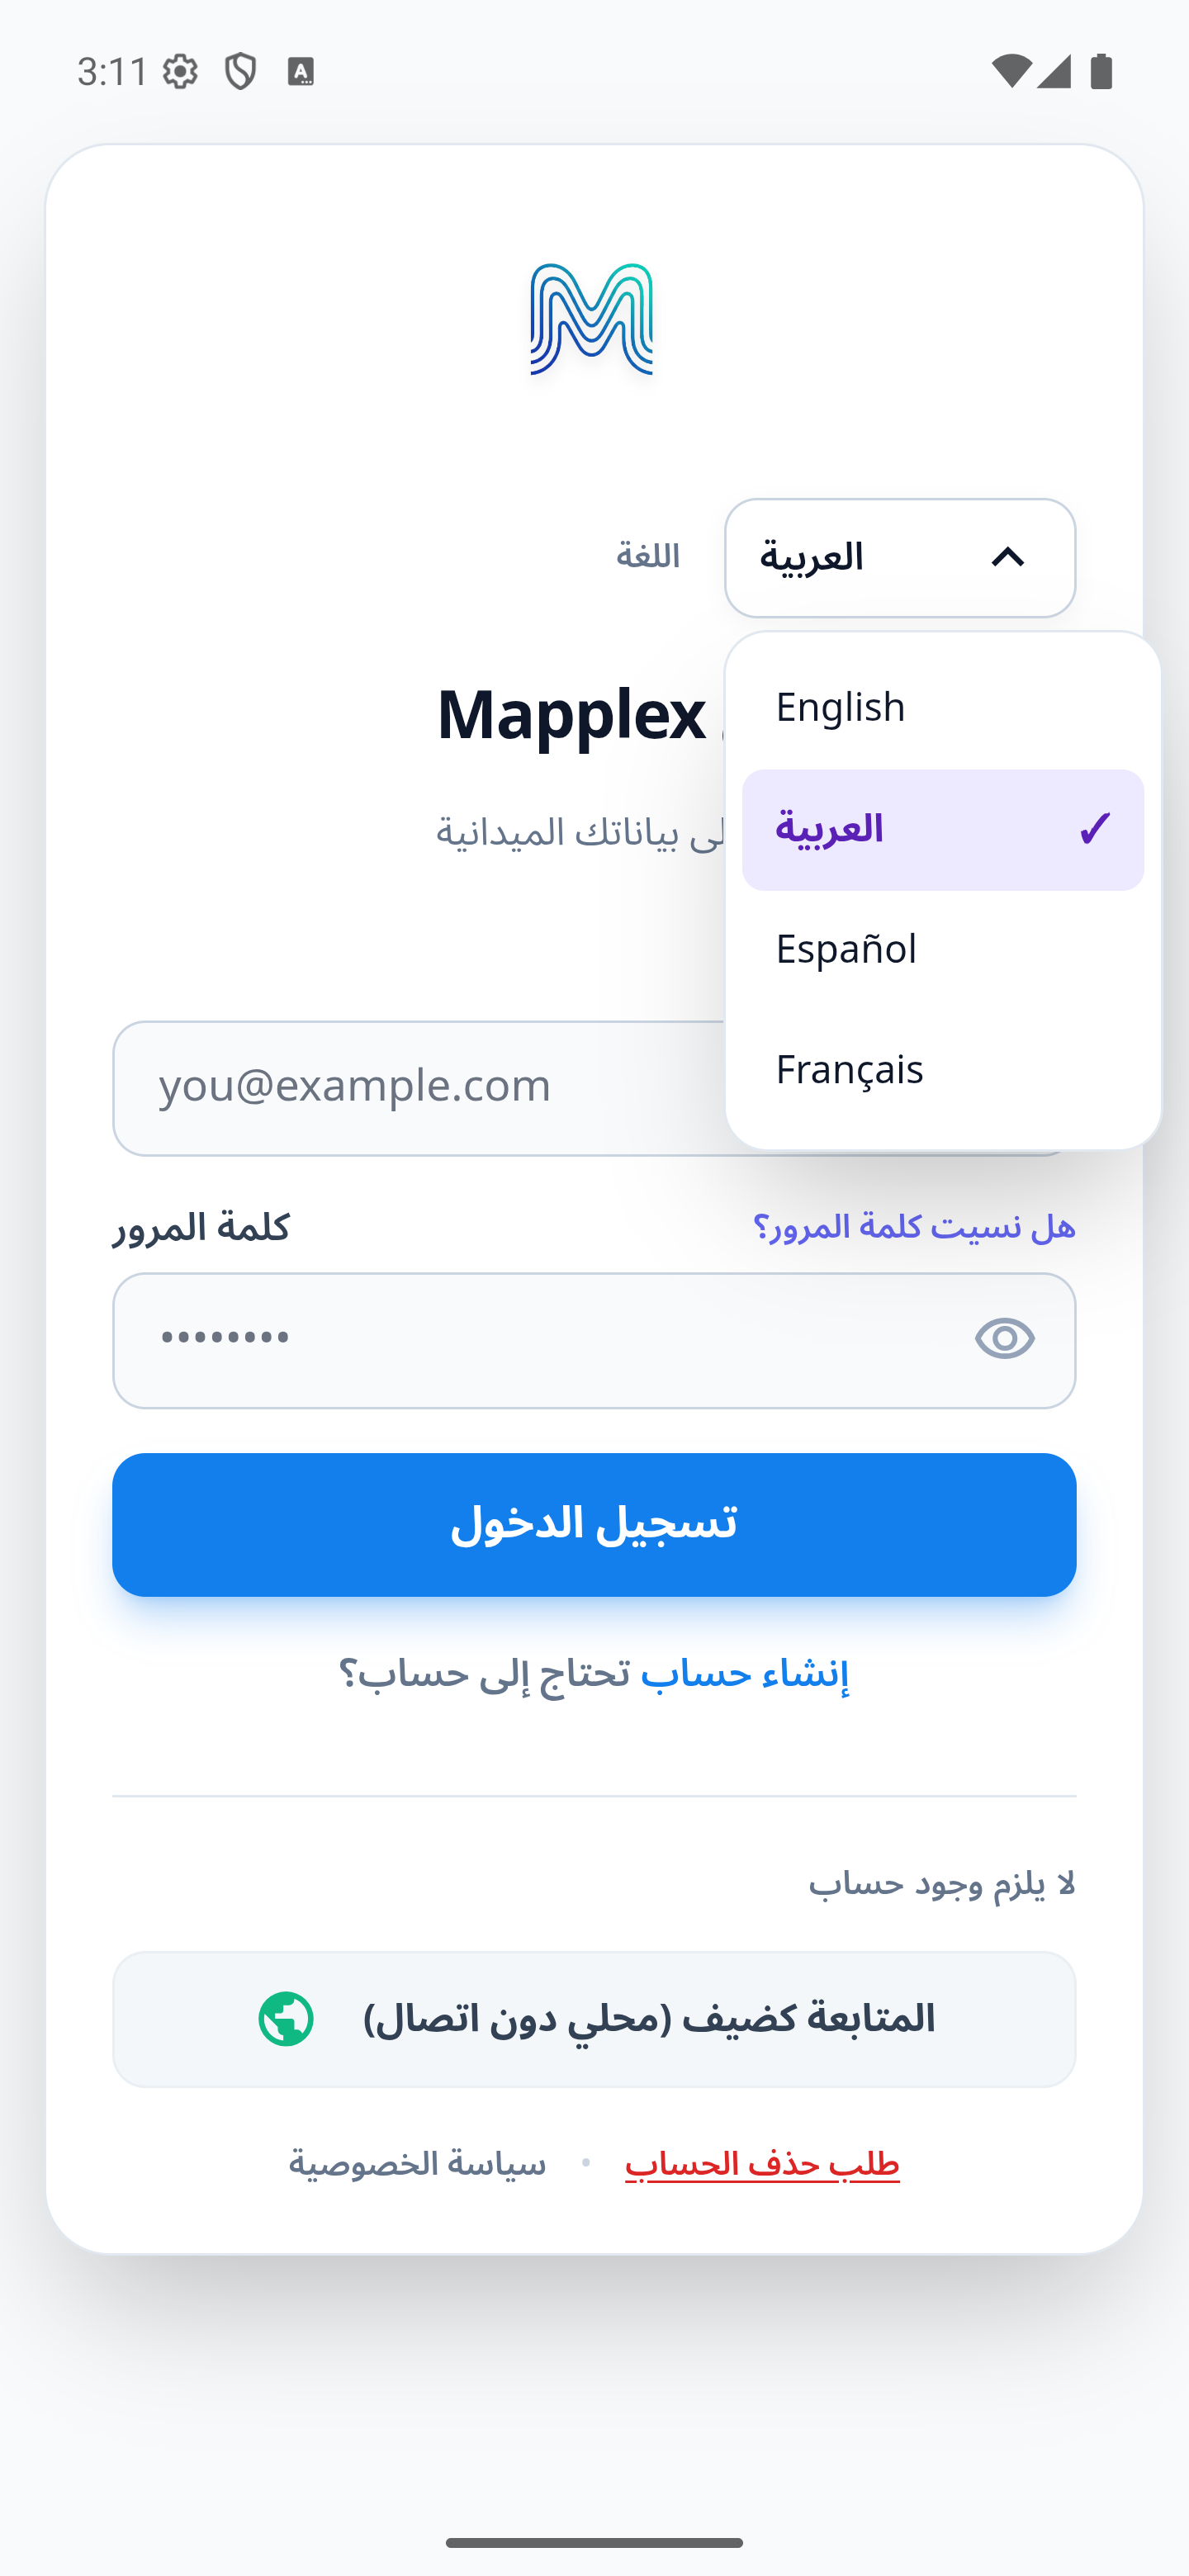
Use the Language picker before signing in. It offers English, العربية, Español and Français. This guide uses English examples and explains Arabic support. This setting changes the interface; it does not translate your project names, field labels or stored records. Voice has its own speech-language choices.
See the English and Arabic language picker
Option A: Sign In with Email & Password
- Enter your Email Address in the email field.
- Enter your Password.
- Tap Sign In.
The system remembers your last email for faster subsequent logins.
Option B: Create an Account (Sign Up)
- On the Sign In screen, tap "Need an account? Sign Up" at the bottom.
- Enter your Full Name, Email Address, and Password (minimum 6 characters).
- Confirm your password in the second password field.
- Tap Create Account.
- Check your inbox for a confirmation link — click it to activate your account.
Note: After creating an account, your administrator may need to approve your access. If your account is pending, you will see an "Account Pending" screen informing you that administrator approval is required.
Option C: Continue as Guest (Local Offline)
If you do not want to create an account yet, tap "Continue as Guest (Local Offline)" at the bottom of the Auth screen. Guest mode stores data locally on the current device only. Cloud sync, team features, and workspace collaboration are not available in guest mode.
Guest limitation: Guest data is not backed up to a workspace. If the device is lost, reset, or cleared, the local data may be lost as well. Use an account-backed workspace for projects that need backup or collaboration.
Forgot Your Password?
- On the Sign In screen, tap "Forgot password?" (located next to the Password label).
- Enter your account email.
- Tap Send Reset Link.
- Open the link from your inbox — you'll be prompted to enter and confirm a new password.
Device Limit
Your account supports up to 2 active devices. If you see a "Device Limit Reached" error, you must log out of another device or de-register it from the Mapplex Settings panel before signing in here.
3. Understanding Your Workspace
Geova Cloud is the online service used by Mapplex for hosted projects and workspace collaboration. Local projects are stored on the current device.
In a signed-in workspace, data belongs to the Workspace. A workspace is an isolated environment that contains projects, layers, forms, team members, storage settings, and subscription details.
The opening screen depends on your role and assigned layout. Collectors and viewers with an active project normally open on its Map; other users normally open Projects. Use the available navigation or menu to open Projects, then create or activate a project if your role permits it.
Example: A consultant may keep one workspace for a municipal streetlight inventory and another workspace for a utility corridor survey. The same user account can switch between both workspaces, but projects and team access remain separated.
4. How the main parts fit together
Use a streetlight inspection as a simple example:
| Part | Plain meaning | Example |
|---|---|---|
| Workspace | The shared area that controls membership and access | Municipal field team |
| Project | One organized piece of work | North District streetlight inspections |
| Layer | A collection of map items of one geometry type | Streetlights, stored as points |
| Feature | One item on the map | Streetlight SL-10482 |
| Form | The questions used to describe the item | Asset ID, Pole Number, and Condition |
| Field | One question or value in that form | Condition = Poor |
| Related table | Separate rows for information that repeats | Inspection visits |
| Attachment | Evidence stored with a feature or record | A photo of the damaged lamp |
Create another feature for another asset. Create another related record for another visit to the same asset. Attach a file when it supports an existing asset or visit.
Signing in does not make every project hosted. Check the project's Hosted (Cloud) or Local (Offline) badge. A local project stays on the current device until you deliberately use a supported upload or handover workflow.
Save, sync, and export are different: saving retains your work; hosted sync sends pending changes to Geova Cloud; export creates a file for a specific handover. An export's contents depend on its format, and a local save is not proof of cloud delivery.
Next: Create your first field project, or read The Project Dashboard. For repeated visits, use Record repeated inspections.